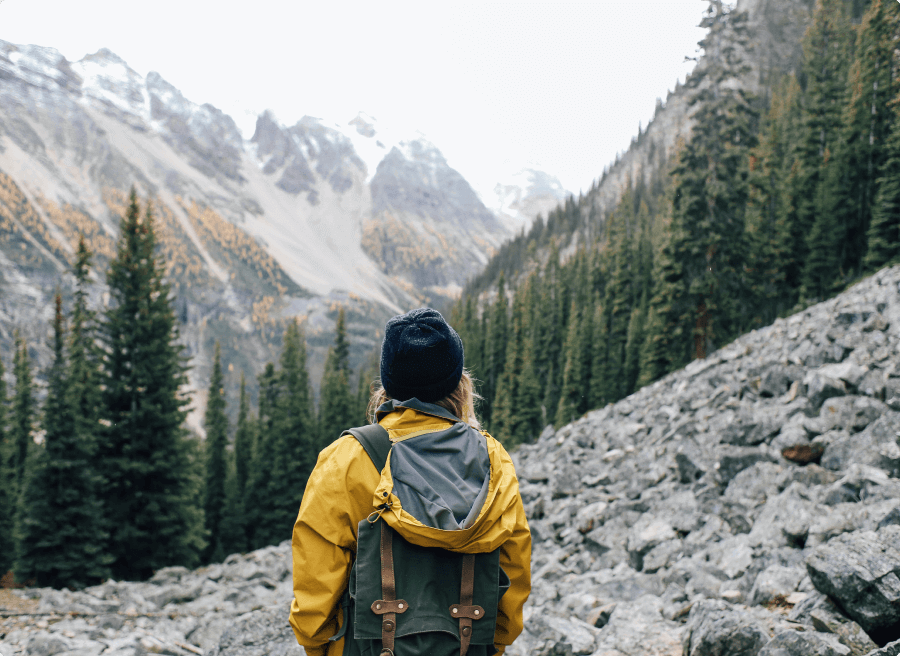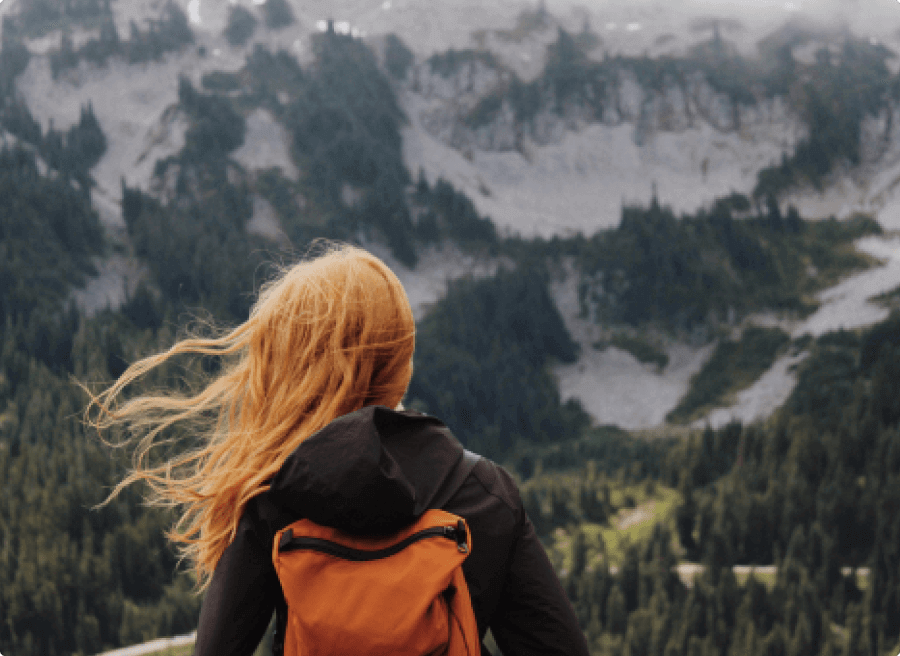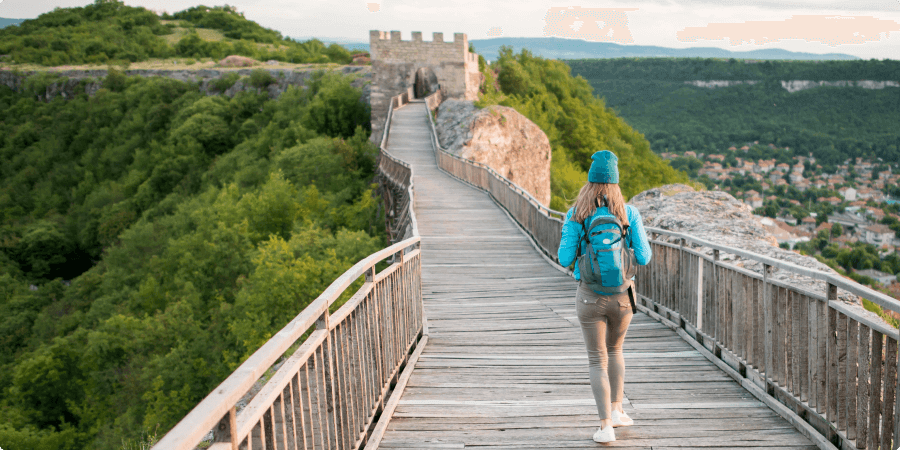


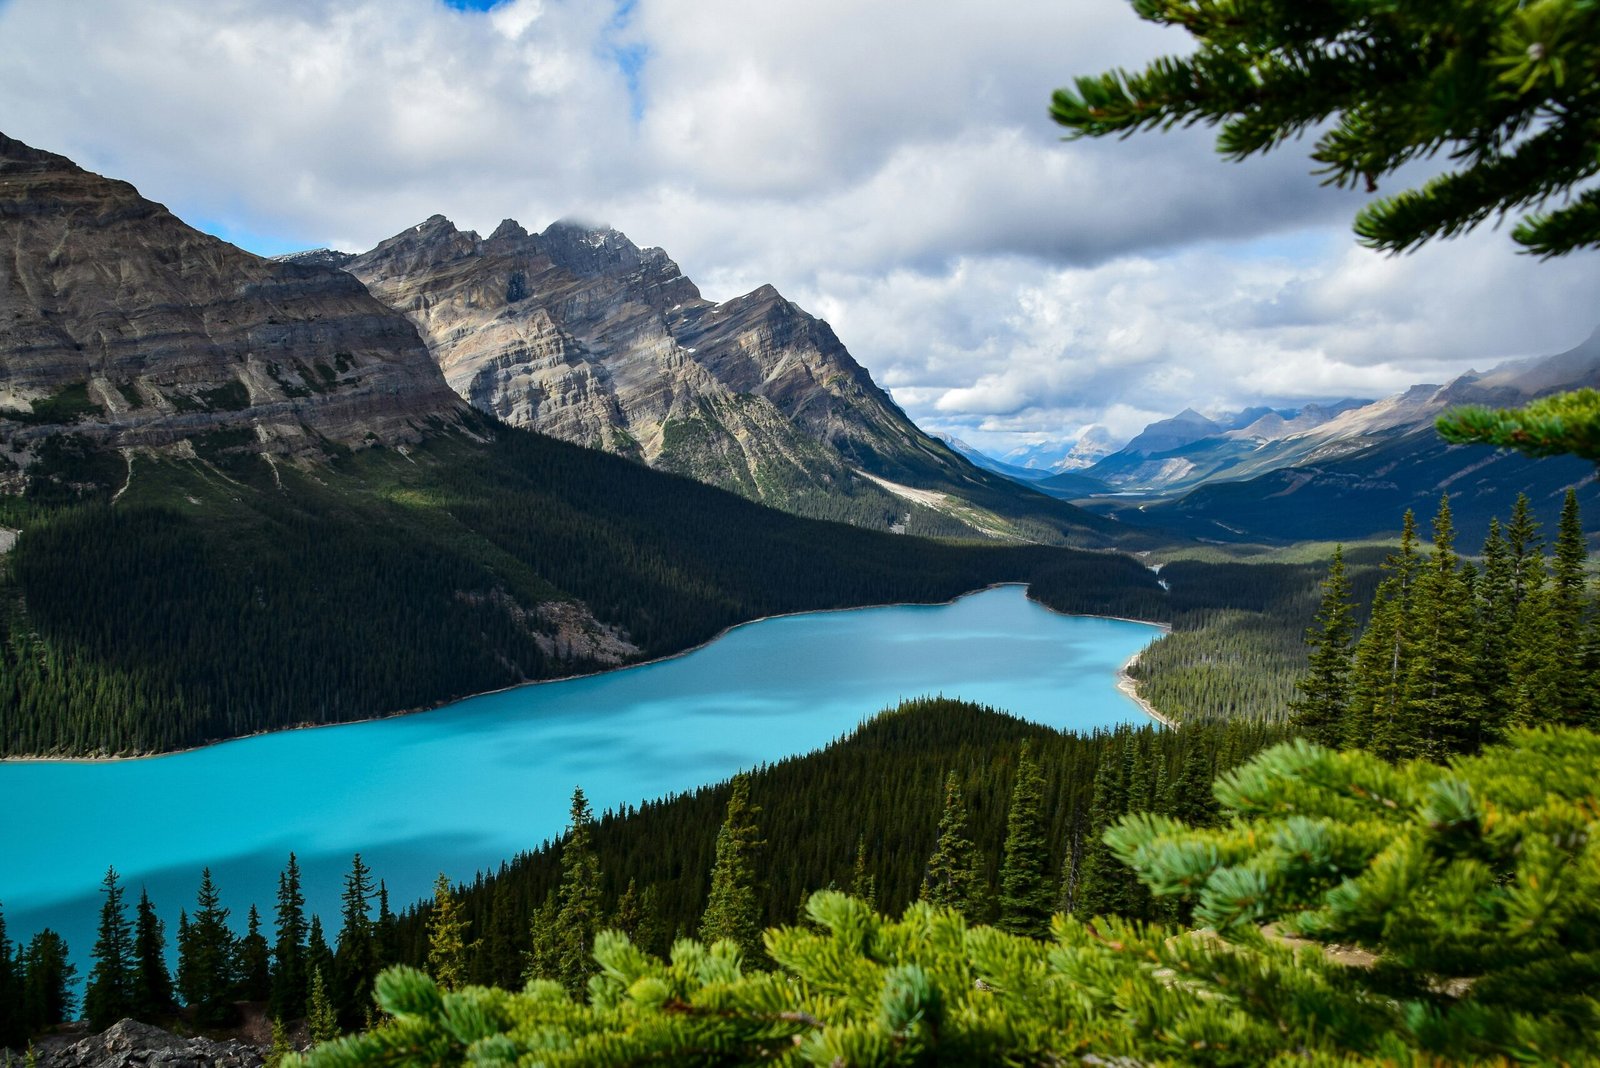


Better Lake Louise photographs depend on more than having an expensive camera. Timing, access, weather, a manageable route, and a clear idea of what you want to capture often matter just as much. For first-time visitors, the most useful approach is to plan the conditions first, then choose the equipment and composition that fit the day.
Lake Louise offers turquoise water, glacier scenery, mountain views, and a practical lakeshore starting point. If your visit also includes Moraine Lake, access and timing require even more coordination, so a photography-focused itinerary should leave room for transport and changing conditions.
1. Plan around light, timing, and crowd conditions
Light changes the mood of a Lake Louise photograph. Early morning can offer softer light, fewer people, and a better chance of seeing calm water, although no time of day guarantees clear reflections or a particular sky. The goal is to choose a time that supports the kind of image you want rather than treating sunrise as the only worthwhile option.
If mountain reflections are important, allow time to observe the lake before taking photographs. Wind, cloud, and activity on the water can change the scene quickly. For a wider view of the area’s popular photography conditions, see these notes on Moraine Lake sunrise and early visits.
A photography-focused visit also needs a realistic pace. If you are travelling with children, older relatives, or a group with different interests, choose one or two photographic priorities instead of trying to capture every viewpoint. You will usually return with better images when you have time to look, wait, and reframe.
2. Start with the lakeshore, then explore nearby viewpoints thoughtfully

The lakeshore is a practical starting point because it brings together the water, surrounding peaks, and glacier views in one accessible scene. Begin with a wide composition, then take a few steps along the route to see how the shoreline, trees, and mountain lines change the frame.
Do not assume that one viewpoint is always the best photo spot. The strongest position depends on the light, water conditions, season, and how busy the area is. A short, unhurried walk can reveal a quieter angle without requiring a demanding hike. The Lake Louise trail is useful context for thinking about gentle lakeside movement, reflections, and accessible viewpoints.
Before moving on, make three versions of the same scene: a wide landscape, a balanced image with a person for scale, and a closer detail such as ripples, shoreline texture, or a small section of the mountain backdrop. This simple exercise helps you use the location rather than taking the same image repeatedly.
3. Use reflections, mountain ridges, and the rule of thirds
Good composition does not require advanced camera knowledge. Parks Canada recommends choosing a clear subject, using the rule of thirds, and looking for natural symmetry such as lake reflections, rows of trees, and mountain ridges. These principles work equally well with a phone or a dedicated camera.
For Lake Louise, decide what should dominate the image. If the turquoise water is the subject, place the horizon higher and give the lake more space. If the peaks or glacier are the focus, place the horizon lower and let the mountain structure lead the eye. Keep the camera level unless you have a deliberate reason to tilt it.
Reflections are strongest when the water is relatively calm, but they should not be forced into every composition. Try an image with a symmetrical reflection, then another that includes an uneven shoreline or foreground object. Consider direction, height, and what enters the frame before pressing the shutter.
Leave a little space around the peaks and avoid cutting off important ridgelines at the edge of the image. On a phone, tap the main subject before shooting and check that bright water or sky has not lost too much detail.
4. Match your equipment to the photograph you want
The best camera is the one you can use confidently and carry comfortably. A phone is well suited to quick landscapes, group portraits, and changing conditions. Clean the lens, use the highest practical image quality, tap to focus, and avoid excessive digital zoom. A stable two-handed grip can make a larger difference than an additional accessory.
A dedicated camera gives you more control over lenses, exposure, and files, which can help when you want a wide mountain scene, a compressed view of the peaks, or more flexibility in post-processing. It also adds weight and preparation. Bring only the lenses and accessories you understand well enough to use without slowing down the visit.
| Setup | Useful for | Plan for |
|---|---|---|
| Phone | Lightweight travel images, people, and quick landscape changes | Battery life, lens cleanliness, storage, and avoiding digital zoom |
| Interchangeable-lens camera | More control over perspective, exposure, and file quality | Extra weight, spare batteries, weather protection, and lens changes |
Whichever setup you choose, carry a charged spare battery or power bank where appropriate, check storage before leaving, and keep rain or snow away from exposed equipment. Do not let the search for perfect settings distract you from noticing changing light.
5. Treat shuttle access and weather as part of the photography plan
Access can determine whether your planned photo stop is possible. Parks Canada states that a shuttle reservation is required for access to Lake Louise and Moraine Lake through its shuttle system, and recommends reserving a seat to guarantee access to both lakes in one day. Check the official Lake Louise and Moraine Lake access information before travelling because schedules, procedures, and seasonal details can change.
Build flexibility into your plan. Bring layers, rain protection, a lens cloth, and a way to keep batteries warm in cold conditions. If cloud covers the peaks, photograph the lake, shoreline, trees, and changing colour instead of abandoning the visit. If conditions make your preferred viewpoint impractical, have a nearby alternative rather than trying to force one shot.
Also check the exact inclusions and pickup details of any shuttle-based itinerary. Banff Trip Planner presents a Lake Louise and Moraine Lake option with shuttle access, scenic viewpoints, photography stops, and pickup options from Calgary, Canmore, and Banff. Those details can reduce planning friction, but you should still confirm the current schedule and the amount of time available at each stop.
6. Decide whether Moraine Lake belongs in the same photography day
A Lake Louise-only visit gives you more time to observe one setting and adapt to its conditions. Adding Moraine Lake creates more variety, but it also adds access coordination, travel time, and another location where light and crowds may not match your expectations.
Choose the combined day if seeing both lakes is a priority and you are comfortable with a structured schedule. It can suit visitors who want a broad first impression of the Rockies, couples building a shared sightseeing day, or families who prefer bundled transport. Keep the photography goals modest: select one or two compositions at each lake rather than planning a full portfolio at both.
Choose a Lake Louise-focused day if you want time for several lakeshore perspectives, a relaxed walk, or careful work with reflections. If you do combine the lakes, confirm the access arrangements before booking and leave some margin for delays. A longer list of stops does not automatically produce better photographs.
7. Photograph responsibly and leave room for the experience
Protect the setting and the people sharing it. Stay on designated routes, do not enter closed or fragile areas for a better angle, and avoid blocking a viewpoint while taking multiple versions of the same image. If you photograph other visitors, ask permission when they are identifiable and avoid treating public spaces as private photo sets.
Recreational drone use is prohibited at Parks Canada places. Drone operations in national parks require specific permits for permitted activities, so a visitor should not bring a drone to Banff National Park expecting to fly it for personal photography. Review the official Parks Canada permit information if your photography involves any regulated activity.
Before leaving, use this short checklist:
- Confirm current shuttle or access requirements.
- Choose a primary viewpoint and a backup location.
- Charge batteries and clear storage space.
- Pack layers, rain protection, and a lens cloth.
- Decide whether your priority is Lake Louise alone or both lakes.
- Keep to designated routes and follow park rules.
When guided transport can simplify a photography visit
Self-planning offers maximum control, but it also leaves you responsible for reservations, driving, parking, route timing, and changes in access. A shuttle-based or guided itinerary can be useful when transportation is the main obstacle, especially for visitors starting in Calgary or combining Lake Louise with Moraine Lake and other scenic stops.
Compare options by checking the departure point, access arrangements, vehicle details, included admissions, stop sequence, and how much independent time is available. Banff Trip Planner’s supplied tour information describes Lake Louise and Moraine Lake access, scenic viewpoints, photography stops, and pickup options from Calgary, Canmore, and Banff. Treat those inclusions as planning information to verify for your chosen date, not as a promise of particular weather, lighting, or photographic results.
Frequently asked questions
Do I need a shuttle reservation to photograph Lake Louise and Moraine Lake in one day?
If you are using the Parks Canada shuttle system, reservations are required, and Parks Canada recommends reserving a seat to guarantee access to both lakes in one day. Confirm the current process, departure location, and check-in requirements before your visit. A tour or other permitted transport option may follow a different booking process, so check its inclusions separately.
Can I use a drone to take Lake Louise photos?
No. Recreational drone use is prohibited at Parks Canada places, including Banff National Park. Do not launch a drone for personal photography, regardless of its size. For permitted professional or operational activities, consult the current Parks Canada permit requirements before making plans.
Conclusion: Plan the conditions, then make the photograph
The most dependable Lake Louise photography tips are practical: plan access before choosing viewpoints, allow time for light and reflections to change, use simple composition, bring equipment you can manage, and keep a weather backup. Decide early whether Moraine Lake belongs in the same day, because a broader itinerary also brings more transport and timing constraints.
If driving, parking, shuttle coordination, or combining both lakes is likely to distract from the visit, compare the current itinerary and inclusions of Banff Trip Planner Inc. before booking. A well-planned route will not guarantee a particular photograph, but it can leave you with more attention for the landscape in front of you.